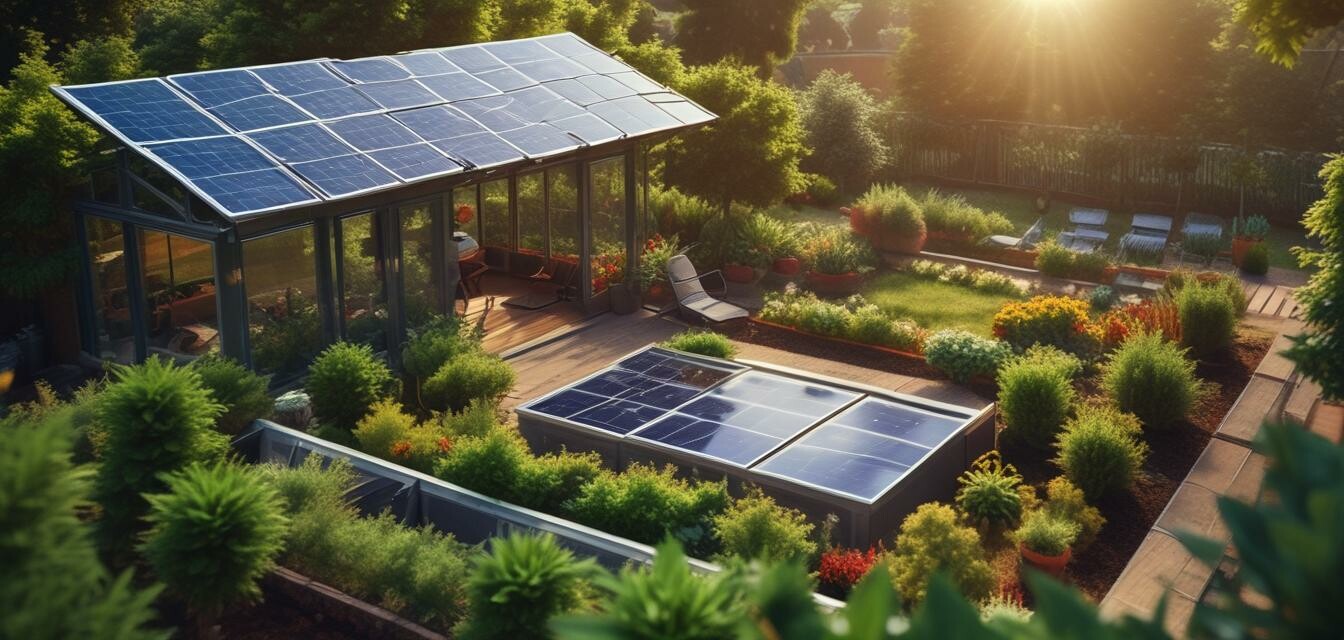
Creating a Solar-Powered Smart Garden
Key Takeaways
- A solar-powered smart garden utilizes renewable energy to automate and enhance garden care.
- The right components, including solar panels and smart devices, are crucial for an effective system.
- Implementation of a solar-powered garden improves energy efficiency and promotes sustainability.
In today’s world, where energy conservation is paramount, a solar-powered smart garden is an innovative way to enhance your gardening experience while contributing to environmental sustainability. This article will guide you through the design and implementation of a solar-powered garden system that maximizes energy efficiency and offers a smarter alternative to traditional gardening methods.
Why Go Solar for Your Garden?
Solar energy is a renewable resource that can dramatically reduce your garden's energy consumption. Here are several benefits of creating a solar-powered smart garden:
- Cost Savings: A self-sufficient energy system lowers electricity bills.
- Environmental Benefits: Reduces carbon footprint.
- Automation: Smart features ensure your garden is maintained without constant supervision.
Planning Your Solar-Powered Smart Garden
Before diving into the implementation phase, it's essential to spend time planning your solar garden. Here are the key steps:
- Determine the size and layout of your garden.
- Identify the plants that suit your environment.
- Choose the right solar power components, including solar panels, batteries, and smart devices.
Essential Components for Your Solar-Powered Garden
To create a successful solar-powered smart garden, you’ll need several essential components:
| Component | Description |
|---|---|
| Solar Panels | Capture sunlight to convert it into electricity for the garden. |
| Battery Storage | Stores excess energy generated by the solar panels for use during cloudy days or nighttime. |
| Smart Watering System | Automated irrigation system that manages water supply based on the plant's needs. |
| Smart Sensors | Monitor soil moisture, temperature, and other environmental conditions to optimize plant health. |
| Charge Controller | Regulates the energy flowing from the solar panels to the batteries. |
Steps to Implement Your Solar-Powered Smart Garden
Now that you understand the planning and components necessary, let’s look at how to implement your solar-powered smart garden step by step.
Step 1: Install Solar Panels
The effectiveness of your solar-powered garden starts here. Ensure you position the panels in sunny spots with minimal shade throughout the day.
Step 2: Setup Battery Storage and Charge Controller
Connect your batteries to the solar panels and install the charge controller to manage energy flow and optimize charging cycles.
Step 3: Integrate Smart Devices
Install smart watering systems and sensors. Make sure they connect to a central control system that you can access via a smartphone or computer.
Step 4: Plant Selection and Arrangement
Choose plants that thrive in your local climate, and arrange them strategically to ensure each has enough sunlight.
Optimizing Energy Efficiency in Your Garden
Once your smart garden is up and running, you’ll want to ensure it operates as efficiently as possible. Here are some tips:
- Regularly monitor the performance of solar panels and clean them to maximize efficiency.
- Adjust the automated watering schedule based on the seasons and current weather conditions.
- Use native plants that require less water and care to improve overall efficiency.
Conclusion
Creating a solar-powered smart garden can enhance your outdoor space while contributing to sustainable living. By harnessing the power of the sun, you can automate your gardening tasks, reduce your energy bills, and make a positive impact on the environment. To learn more about related projects and components, check out our sections on solar panels, battery storage, and DIY projects.
Pros
- Promotes sustainability and eco-friendliness.
- Reduces garden maintenance time.
- Offers long-term financial savings on energy costs.
- Enhances the beauty and functionality of outdoor spaces.
Cons
- Initial setup costs can be high.
- Dependent on sunlight availability.
- Requires some technical knowledge for integration.


