DIY Off-Grid Solar Systems
Key Takeaways
- Off-grid solar systems provide energy independence.
- Essential components include solar panels, batteries, and charge controllers.
- Proper planning and installation are crucial for efficiency.
- Understanding your energy needs helps in designing the right system.
- Regular maintenance ensures longevity and performance.
Are you tired of power cuts and the uncertainty of grid failures? A DIY off-grid solar system can be a game-changer, providing you with energy independence and peace of mind. This guide will walk you through designing and installing your own off-grid solar system, helping you take control of your energy needs.
Understanding Off-Grid Solar Systems
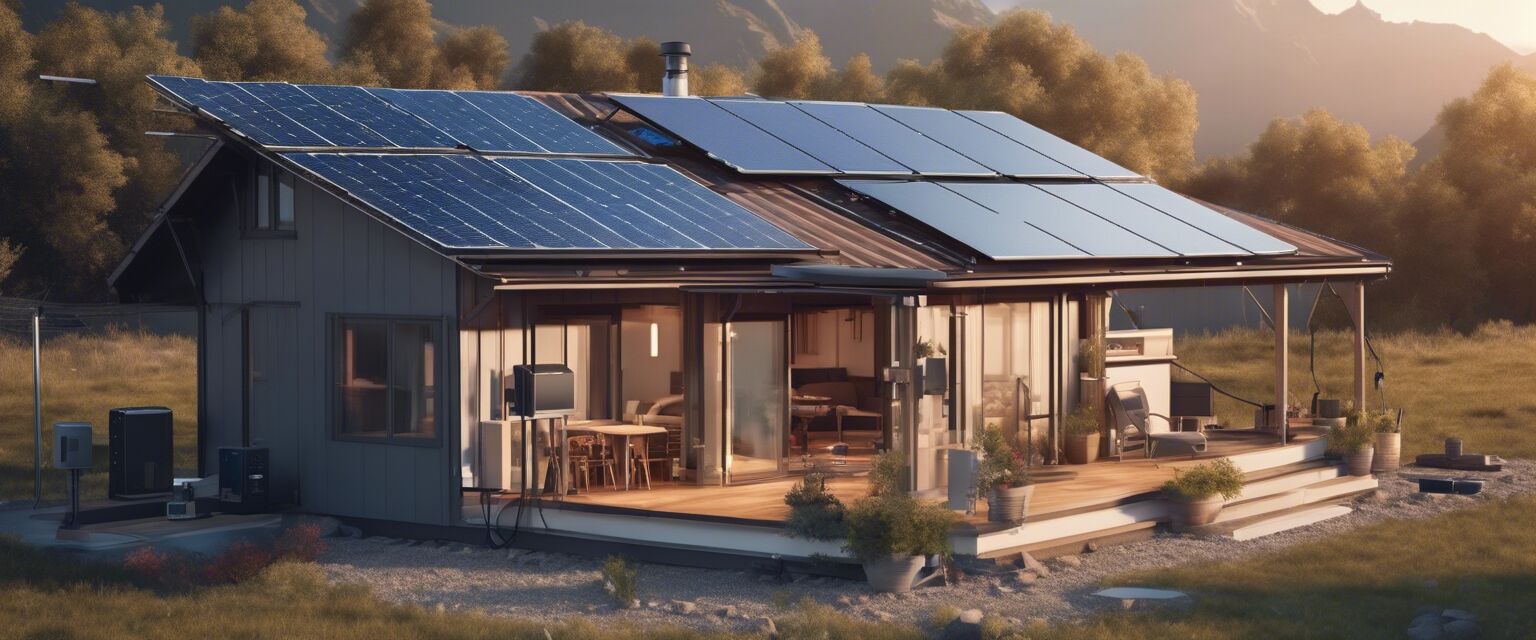
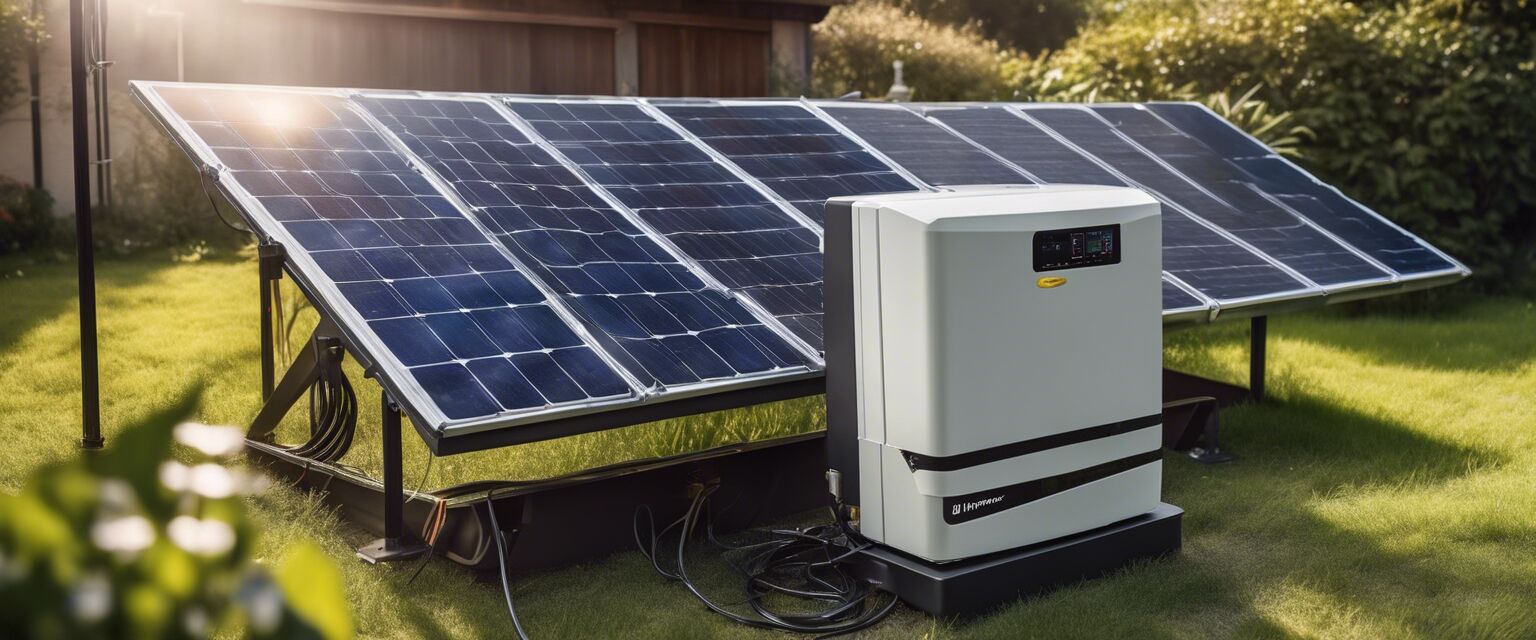
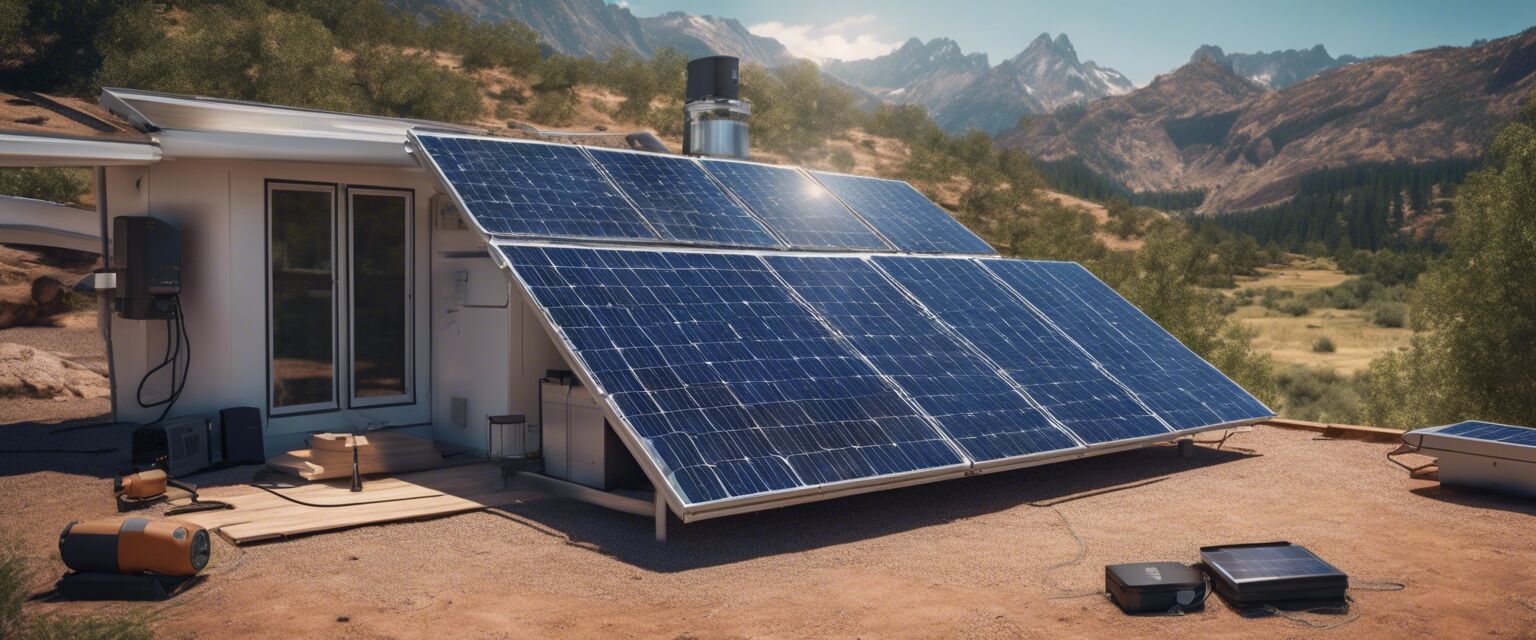
Off-grid solar systems are designed to operate independently of the grid. They are perfect for remote locations or for those who want to reduce their reliance on traditional power sources. Hereâs a brief overview of the main components:
| Component | Description |
|---|---|
| Solar Panels | Convert sunlight into electricity. |
| Batteries | Store excess energy for use when sunlight is not available. |
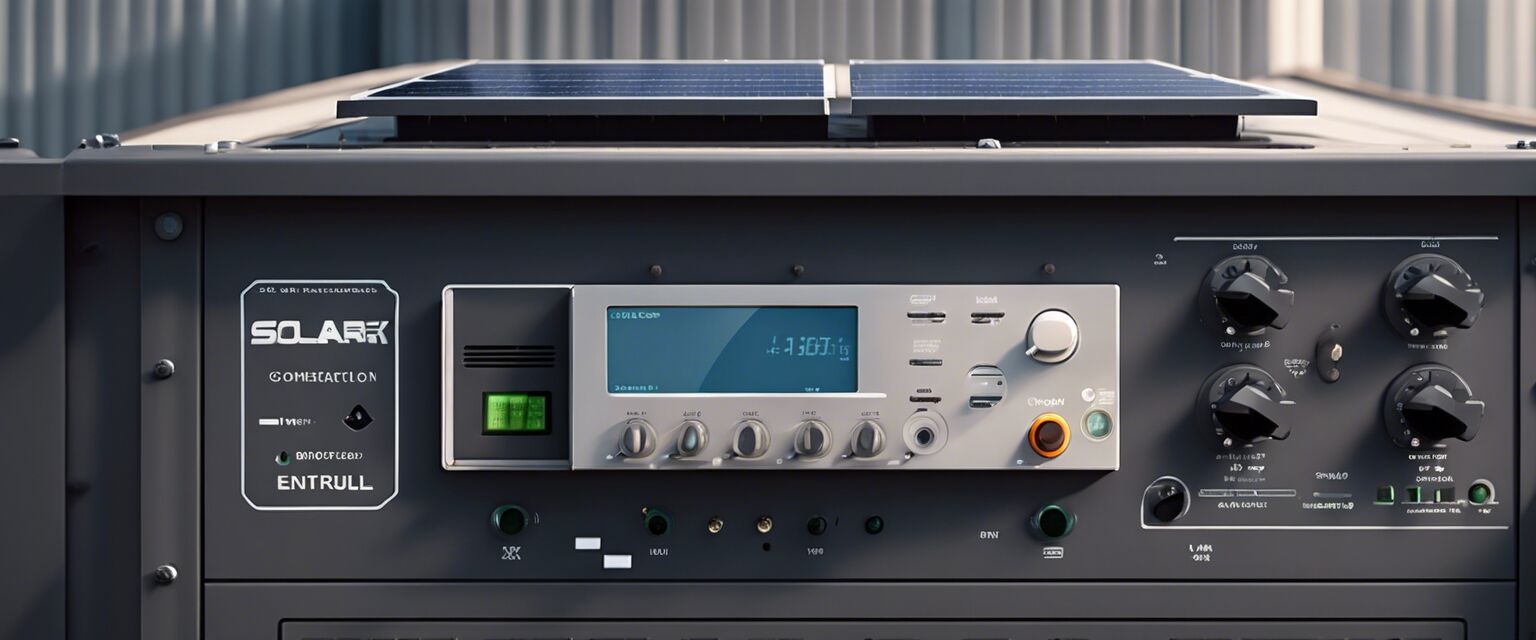
| Charge Controllers | Regulate the voltage and current coming from the solar panels to the batteries. |
| Inverters | Convert DC power from batteries to AC power for home appliances. |
| Mounting Equipment | Secure the solar panels to the roof or ground. |
Steps to Design Your Off-Grid Solar System
1. Assess Your Energy Needs
Calculate how much energy you need on a daily basis. Consider the following:
- List all appliances you plan to use.
- Check the wattage of each appliance.
- Estimate the number of hours each appliance will be used daily.
2. Calculate Required Solar Panel Capacity
Once you know your energy needs, you can determine the number of solar panels required. Use the following formula:
Energy Needs (Wh) / Peak Sunlight Hours = Required Panel Capacity (W)
3. Choose the Right Components
Based on your calculations, select appropriate solar panels, batteries, charge controllers, and inverters. Ensure all components are compatible.
Installation Process
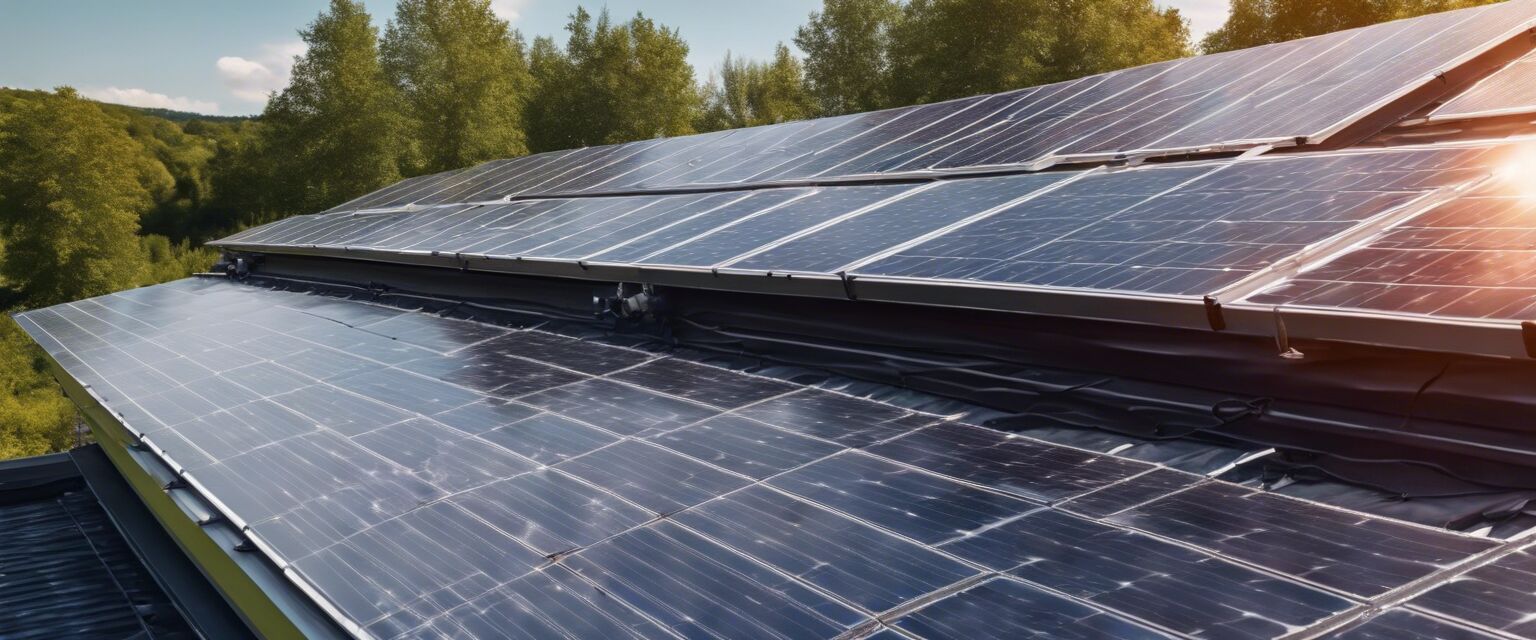
1. Mounting Solar Panels
Choose a location with maximum sun exposure and securely mount the solar panels using mounting equipment.
2. Setting Up Batteries
Install batteries in a well-ventilated area and connect them to the solar panels and charge controller.
3. Connecting the Inverter
Connect the inverter to the batteries and ensure all connections are secure. This allows you to power your household appliances.
Maintenance Tips
Tips for Beginners
- Regularly check connections for corrosion or wear.
- Clean solar panels to maximize efficiency.
- Monitor battery levels to avoid over-discharge.
- Consider investing in a monitoring system to track energy consumption.
Pros and Cons of DIY Off-Grid Solar Systems
Pros
- Energy independence from the grid.
- Long-term cost savings on electricity bills.
- Environmentally friendly energy source.
- Increased property value.
Cons
- Initial setup costs can be high.
- Requires technical knowledge for installation.
- Maintenance is necessary to ensure efficiency.
- Energy storage may not be sufficient for high usage.
Conclusion
Building a DIY off-grid solar system is a rewarding project that can provide you with sustainable energy independence. By understanding your energy needs and carefully planning your installation, you can enjoy the benefits of solar power for years to come. For more information, check out our sections on Battery Storage, Charge Controllers, and Solar Panels to learn more about the essential components for your solar system.
Further Resources
Explore more about off-grid systems and their components:
