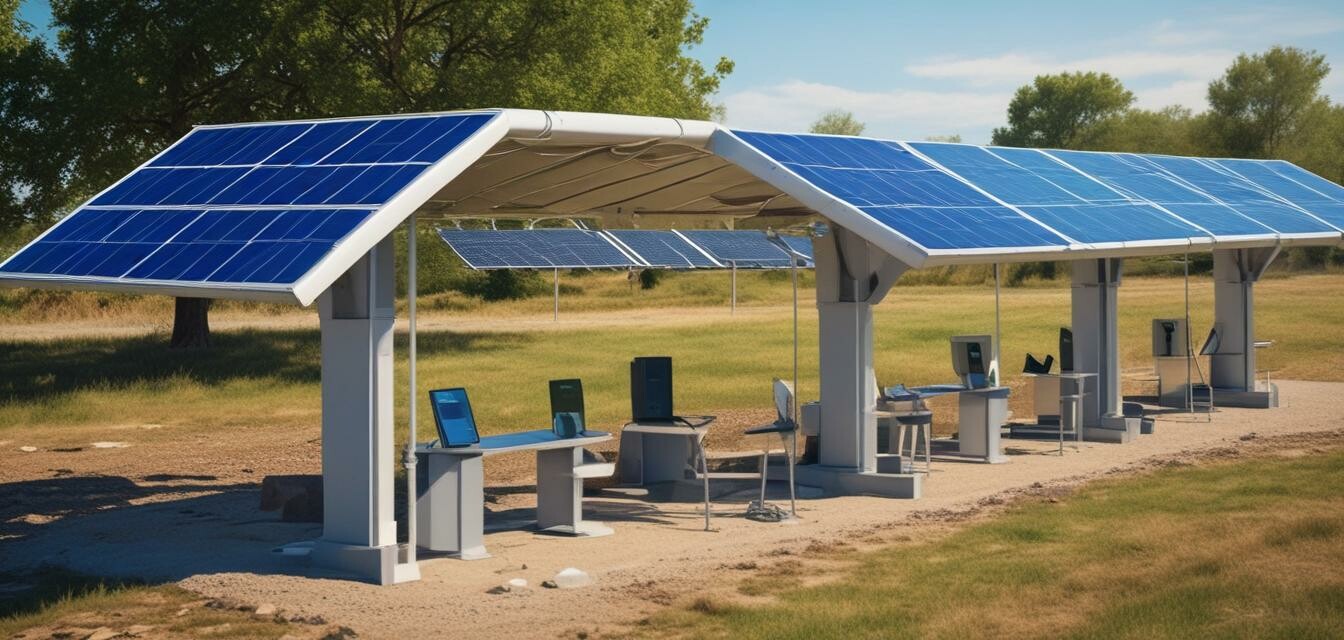
Creating a Solar-Powered Charging Station for Your Devices
Key Takeaways
- Learn to build a solar charging station for devices.
- Understand the components needed for an off-grid setup.
- Follow step-by-step instructions to create a practical solution.
- Enhance your grid independence with renewable energy.
- Optimize space and efficiency in your DIY projects.
In today's world, charging our devices on the go is more important than ever. With a solar-powered charging station, you can keep your gadgets powered without relying on the grid. This project is perfect for off-grid setups, allowing you to harness the sun's energy efficiently. Keep reading to learn how to create your own solar-powered charging station!
Materials Needed
To build your solar-powered charging station, you will need the following materials:
- Solar Panels (20W or higher recommended)
- Charge Controller
- Batteries (12V deep-cycle recommended)
- Inverter (optional for AC devices)
- USB Charging Ports or Power Bank
- Battery Cables and Connectors
- Wood for the Frame
- Weather-resistant enclosure (if outdoors)
- Basic Hand Tools (drill, saw, screwdriver, etc.)
Step-by-Step Instructions
Step 1: Build the Frame
Start by constructing a sturdy frame to hold your solar panels and batteries.
- Cut the wood to the desired dimensions.
- Assemble the frame using screws for durability.
- Ensure there is enough space for ventilation around the batteries.
Step 2: Install Solar Panels
Once the frame is complete, it's time to install your solar panels.
- Secure the solar panels to the top of the frame using brackets or screws.
- Connect the solar panels to the charge controller.
Step 3: Connect the Battery
The battery is essential for storing the energy collected from the solar panels.
- Connect the batteries to the charge controller using battery cables.
- Make sure to follow the manufacturer's instructions for the connections.
Step 4: Set Up Charging Ports
Now it’s time to add charging options for your devices.
- If using USB charging ports, connect them to the output of the charge controller.
- If using a power bank, connect it as per the manufacturer's instructions.
Step 5: Test Your Station
Before putting your solar charging station into regular use, it’s essential to test it.
- Connect a device to the charging port.
- Monitor the charging status to ensure everything is functioning correctly.
Tips for Optimization
Useful Tips
- Place solar panels where they receive maximum sunlight throughout the day.
- Consider adding additional batteries for larger power demands.
- Keep the connections clean and free from corrosion.
- Use a weather-resistant enclosure if your station is outdoors.
Frequently Asked Questions
| Question | Answer |
|---|---|
| How long does it take to build? | Typically, a few hours to a full day depending on experience. |
| Can I charge multiple devices? | Yes, ensure your charging ports can handle the demand. |
| Is it safe to use outdoors? | Yes, but ensure your components are weather-resistant. |
Pros
- Environmentally friendly energy source.
- Reduces reliance on grid power.
- Portable for use in multiple locations.
- Cost-effective in the long run.
Cons
- Initial setup cost can be high.
- Performance decreases on cloudy days.
- Requires maintenance, especially for batteries.
Conclusion
Building a solar-powered charging station is an excellent way to enhance your grid independence. By following these steps, you'll have a reliable power source for your devices while enjoying the benefits of renewable energy. For more DIY projects and guides, check out our full range on DIY Projects or explore tips for solar panels and battery storage.


