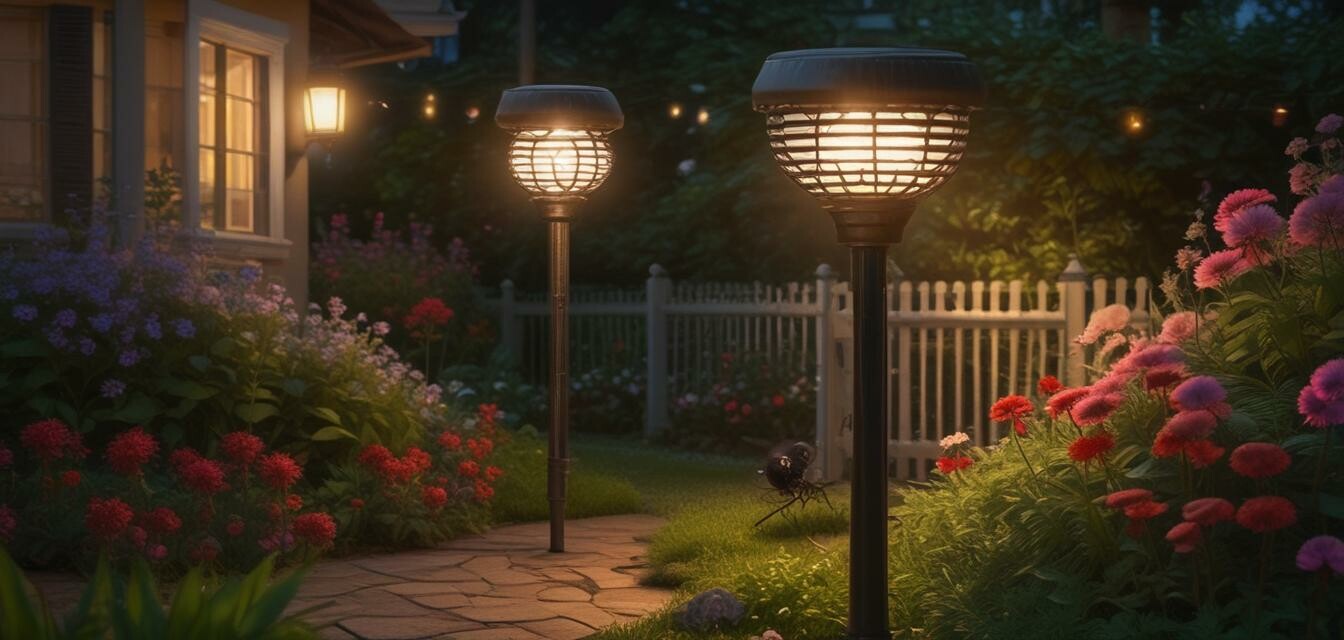
Crafting a Solar-Powered Bug Zapper for Outdoor Use
Key Takeaways
- Creating a solar-powered bug zapper is an eco-friendly DIY project.
- You'll need basic components like solar panels, batteries, and a zapper circuit.
- This project enhances outdoor comfort by reducing pesky insects.
Are you tired of enjoying your evening outside only to be bombarded by bugs? If so, creating a solar-powered bug zapper could be your go-to DIY project. Not only does it help enhance your outdoor comfort, but it also contributes to your off-grid lifestyle by utilizing renewable energy. In this article, we’ll provide you with step-by-step instructions to build your own solar-powered bug zapper.
Why go solar for your bug zapper?
Using solar power for your bug zapper comes with numerous benefits:
- Cost-effective: After the initial setup, solar energy is free.
- Environmentally friendly: Harnessing solar energy reduces reliance on fossil fuels.
- Convenience: No need for extension cords or nearby power outlets.
Tools and materials you'll need
Before you begin, gather the following tools and materials:
| Materials | Quantity |
|---|---|
| Solar panel | 1 |
| Rechargeable battery (12V) | 1 |
| Bug zapper circuit | 1 |
| LED lights (optional) | 2 |
| Enclosure (e.g., plastic container) | 1 |
| Wire connectors | As needed |
Step-by-step instructions
Follow these simple steps to assemble your solar-powered bug zapper:
- Prepare the enclosure: Choose a waterproof container to house your zapper components. Drill holes for the solar panel, LED lights, and wire connections.
- Install the bug zapper circuit: Connect the bug zapper circuit according to the manufacturer’s instructions. Ensure it’s secure and well-placed inside the enclosure.
- Connect the battery: Attach the rechargeable battery to the circuit, making sure to follow the correct polarity.
- Attach the solar panel: Connect the solar panel to the battery box to charge during the day. Use suitable connectors to ensure a solid connection.
- Seal the enclosure: Close the container securely to protect it from the elements.
- Position your zapper: Place your solar-powered bug zapper in an optimal location in your yard, preferably in direct sunlight for maximum energy absorption.
Enhancing functionality
For improved attraction and effectiveness, consider adding LED lights. These can help lure insects closer to the zapper. Here’s how:
- Mount the LED lights around the bug zapper circuit inside the enclosure.
- Connect the LED lights to the battery, ensuring it can handle the load.
- Switch them on at dusk for optimal performance!
Maintenance tips
To keep your solar-powered bug zapper functioning well, follow these maintenance tips:
- Regularly clean the solar panel to ensure efficient energy absorption.
- Check the battery charge and replace it if necessary.
- Inspect the zapper circuit for any damage or wear.
Conclusion
Building a solar-powered bug zapper is an enjoyable and practical project that can significantly enhance your outdoor living experience. Not only does it use renewable energy, but it also provides a solution to the pesky insects that invade your space. Now you're well-equipped to create your custom bug zapper and embrace a more comfortable outdoor environment!
Beginner tips
- Start small; if you're new to DIY projects, keep your design simple.
- Watch tutorial videos online for visual guidance.
- Don’t hesitate to ask for help from experienced DIY enthusiasts.
Pros
- Eco-friendly energy source.
- Low maintenance.
- Increases comfort during outdoor gatherings.
Cons
- Requires sunlight to operate effectively.
- Initial setup can be a bit complex for beginners.
For more tips on enhancing your grid independence journey, consider visiting our DIY Projects section. Additionally, discover how to maximize your energy efficiency or explore other solar panel options on our site!
Ready to take on more projects? Check out our Buying Guides for insightful information on selecting the right materials.


