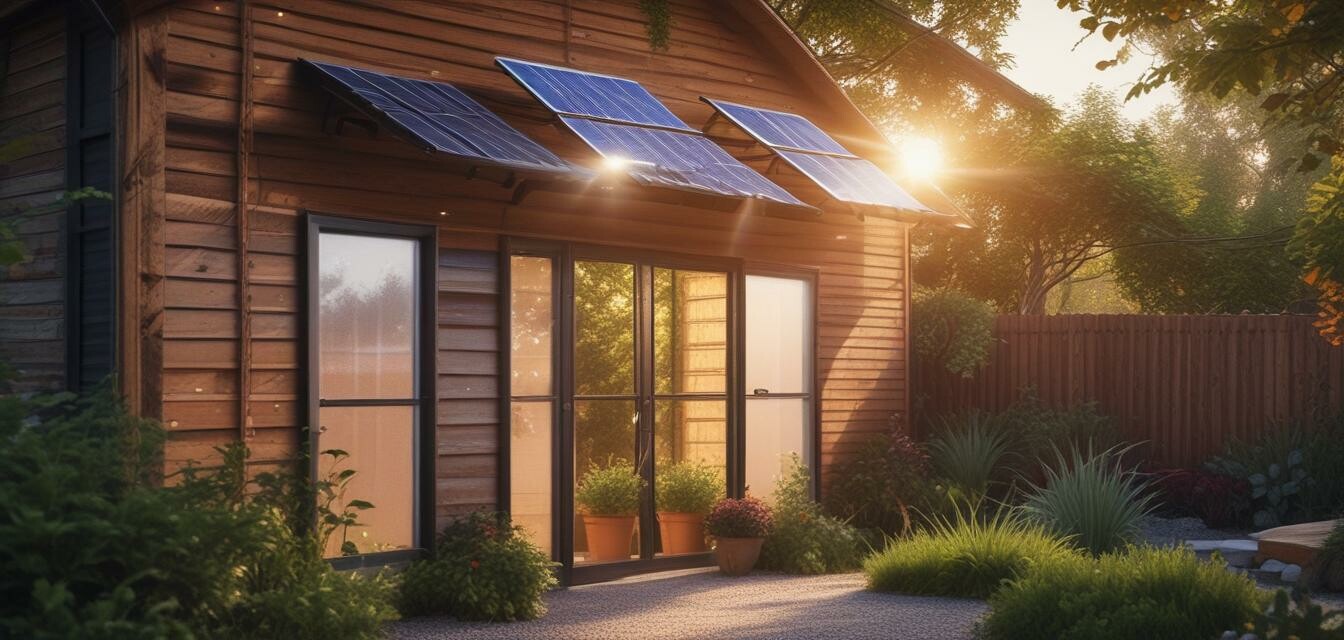
Install Your Own Solar Shed Light: Step-by-Step Instructions
Key Takeaways
- Solar shed lights enhance outdoor visibility and security.
- Installation is straightforward with simple tools and materials.
- Different lighting modes offer flexibility based on your needs.
- Energy-efficient, off-grid solution for illuminating sheds, garages, and outdoor spaces.
Are you tired of stumbling around in the dark when visiting your shed or garage? Installing a solar shed light is an excellent way to enhance both security and convenience in your outdoor spaces. In this guide, we will take you through the step-by-step process of installing your very own solar shed light.
Why Choose Solar Shed Lights?
Solar shed lights are a perfect solution for lighting areas that may not have easy access to electrical wiring. They harness solar energy, making them eco-friendly and cost-effective. Here’s why you should consider them:
- Energy Efficiency: These lights rely on solar energy, reducing your electricity bill.
- Environmentally Friendly: Go green by using renewable energy sources.
- Easy Installation: No need for complicated wiring; simply mount and connect.
- Versatile Design: Perfect for various outdoor settings including sheds, garages, and gardens.
What You’ll Need for Installation
| Tools & Materials | Description |
|---|---|
| Solar Shed Light | Choose a reliable model like Solar Shed Light Outdoor Indoor Solar Powered Motion Sensor Shed Light with multiple features. |
| Drill | For making holes to mount the solar light. |
| Screwdriver | To secure the solar light with screws. |
| Pencil | For marking drill points. |
| Level | To ensure the light is mounted straight. |
Step-by-Step Instructions to Install Your Solar Shed Light
Step 1: Choose the Right Location
Select a location for your solar light that receives plenty of sunlight during the day. Avoid shaded areas that may hinder solar energy absorption.
Step 2: Mark the Drill Points
Hold the solar light's mounting bracket against the wall of your shed. Use the level to ensure it’s straight, then mark the drill points with a pencil.
Step 3: Drill Holes
Using your drill, create holes at the marked points. Make sure to use a drill bit that matches the size of your screws.
Step 4: Secure the Bracket
Attach the mounting bracket to the wall with screws, using a screwdriver to ensure it’s firmly in place.
Step 5: Attach the Solar Light
Finally, attach the solar light to the mounted bracket according to the manufacturer’s instructions.
Step 6: Set Up the Lighting Modes
Many solar shed lights, like the featured Latband model, come with multiple lighting modes. Take a moment to familiarize yourself with the different settings:
- **Mode 1:** Dim light at night, brightening with motion.
- **Mode 2:** Off initially, activates with motion at night.
- **Mode 3:** Continues bright at night, switches modes automatically.
- **Mode 4:** Activates with motion, works all day.
- **Mode 5:** Bright all day, switches to Mode 4 when the battery dips to 60%.
Maintenance Tips for Your Solar Shed Light
To ensure your solar shed light operates at optimal efficiency, follow these maintenance tips:
- Regularly clean the solar panel to remove dirt and debris.
- Check the battery condition periodically.
- Replace LED bulbs if they lose brightness or fail.
Tips for Beginners
- Start with one solar light and expand your setup as you see fit.
- Consider the amount of sunlight your chosen location receives.
- Review product descriptions and user reviews when selecting the right model.
Pros
- Eco-friendly lighting solution.
- Flexible and easy installation process.
- Requires no wiring or electricity.
Cons
- Performance may vary based on sunlight exposure.
- Some systems may require battery replacements after a few years.
Explore More on Solar Systems
If you’re interested in expanding your knowledge on solar and off-grid systems, check out our other resources:
- Introduction to Solar Off-Grid Systems
- Solar Battery Storage Solutions
- DIY Off-Grid Solar Systems
- Buying Guides for Solar Products
- Latest News and Trends in Solar Technology
Conclusion
Installing a solar shed light is a straightforward DIY project that not only boosts security but also saves energy and costs. With the guide above, you can enhance your outdoor spaces safely and effectively. Don’t wait until the sun sets; start transforming your shed with solar lighting today!


