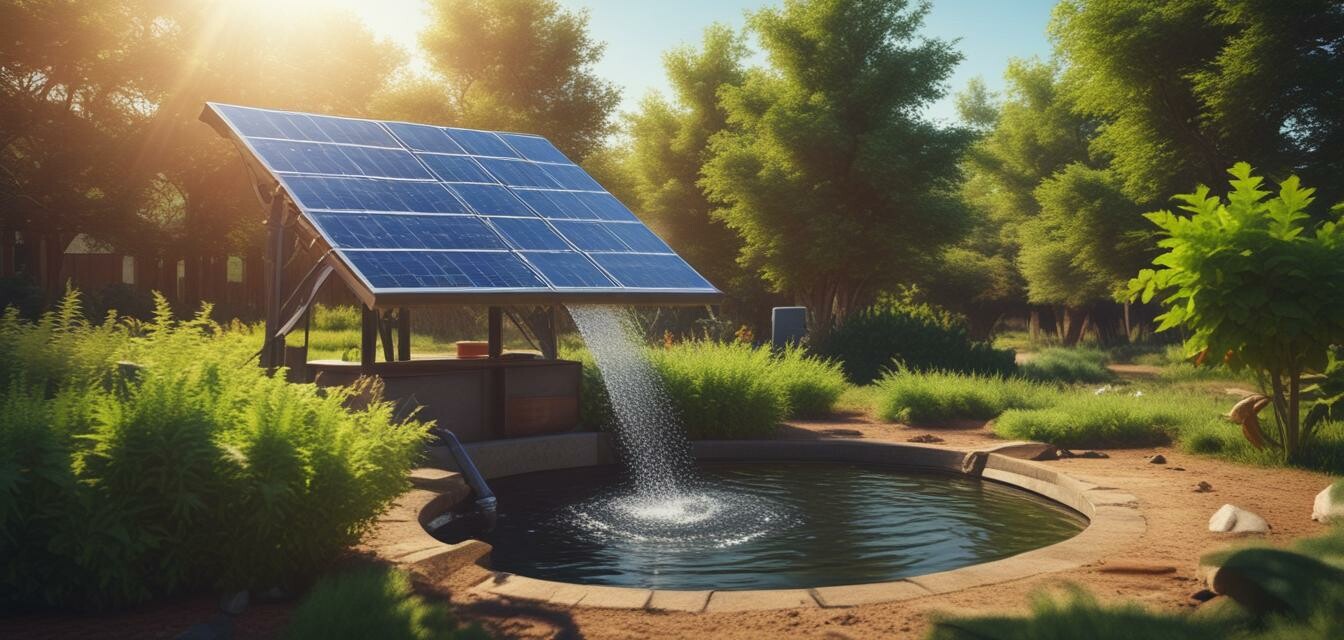
How to Build a Solar-Powered Water Pump System
- Solar-powered water pumps are eco-friendly and reduce reliance on grid electricity.
- Proper planning and component selection are crucial for system efficiency.
- Installation requires basic tools and an understanding of electrical systems.
- Regular maintenance ensures longevity and optimal performance.
If you’re looking to enhance your self-sufficiency, building a solar-powered water pump system can be a rewarding DIY project. This guide will walk you through the essential steps, tools needed, and tips to successfully construct a solar-powered water pump for your garden or livestock needs.
Why choose solar-powered water pumps?
Solar-powered water pumps utilize renewable energy, allowing you to save on electricity costs and reduce your carbon footprint. They are especially useful in remote locations where access to electricity is limited. Below are some advantages:
Pros
- Environmentally friendly and sustainable.
- Low operating costs with no fuel expenses.
- Reliable during sunny conditions.
- Reduces dependency on traditional power sources.
Cons
- Initial setup cost can be high.
- Performance reliant on sunlight availability.
- Requires regular maintenance of components.
Essential components for your solar-powered water pump system
Before you start building your system, gather all the necessary components:
| Component | Description |
|---|---|
| Solar Panels | Convert sunlight into electricity to power the pump. |
| Water Pump | The main unit for moving water. Choose between submersible or surface pumps. |
| Battery Storage | Stores energy for use during cloudy days or at night. |
| Charge Controller | Regulates the voltage and current from the solar panels to the batteries. |
| Inverter | Converts DC electricity from the panels to AC for the pump if needed. |
| Connectors & Cables | For wiring and connecting all components together. |
Step-by-step guide to building your solar-powered water pump system
Step 1: Planning Your System
Begin by determining the water requirements for your garden or livestock. Consider factors such as:
- Water usage (gallons per day)
- Distance from water source to the point of use
- Sunlight exposure in your chosen location
Step 2: Choosing Your Components
Once you have a clear understanding of your needs, select the appropriate components based on required flow rate, head height, and available sunlight. For more detailed selection criteria, check out our buying guides section.
Step 3: Installing the Solar Panels
Install solar panels in an area that receives direct sunlight for most of the day. Ensure that they are mounted at an angle for optimal sun exposure. Follow manufacturer instructions for securing and connecting the panels.
Step 4: Setting Up the Water Pump
Position the water pump based on your design. Ensure that all connections are secure and watertight. If using a submersible pump, submerge it in the water source and connect it to the piping accordingly.
Step 5: Connecting Electrical Components
Connect the solar panels to the charge controller, then to the battery storage system. This allows for energy storage and controls the flow of electricity to the pump. Finally, connect the pump directly to the battery or through an inverter if necessary.
Step 6: Testing Your System
Once everything is connected, it's time to test the system. Turn on the pump and monitor its performance. Check for leaks and any electrical issues ensuring everything operates smoothly.
Maintenance Tips for Longevity
To keep your solar-powered water pump in top shape, follow these maintenance tips:
- Regularly clean the solar panels to remove dirt and debris.
- Check all electrical connections for wear and corrosion.
- Inspect the pump regularly for any signs of damage.
- Ensure the batteries are charged and functioning properly.
Conclusion
Building a solar-powered water pump system can be an excellent way to enhance your grid independence. With the right planning, components, and maintenance, you can create a sustainable water solution for your garden or livestock. For additional DIY projects, explore our DIY projects section.


